
So today, we continue our virtual hop around Leicestershire, going further back in time to 1485 and the last days of Richard III. Most people will have heard the story of 'The King Under The Car Park'. In a nutshell, Richard was King of England from 1483-1485, last monarch of the York dynasty. Richard's army was eventually defeated by Henry Tudor at the Battle of Bosworth - west of Leicester. Richard's body was taken to Leicester and buried without ceremony. During the Reformation, his tomb was unearthed and, it was widely believed, his body thrown into the River Soar. In 2012, following extensive campaigning by the Richard III society, excavations were carried out to try and find his bones. They were eventually discovered under the Greyfriars carpark, in Leicester City Centre. Scientists at the University of Leicester were able to confirm that they were, indeed, the remains of the King. After a battle between the cities of York and Leicester as to who should have his bones, Leicester won. He was finally interred there, with due pomp and ceremony, in 2015.

I can highly recommend the Official Visitor Centre, situated opposite Leicester Cathedral. They have an extensive and interactive exhibition, covering everything from the life of Richard III to the technology that helped to uncover his bones. His burial site, next to the centre, has been preserved and covered in glass - so you can actually see the outline of his body. I'm told this won't last forever though - eventually the ground will collapse and fill in. So it's worth going to see while (and when) you can. The official website is here - https://kriii.com/
Hop across the road to Leicester Cathedral, where you can see Richard's final resting place.
You can also visit the battle site - https://www.bosworthbattlefield.org.uk/
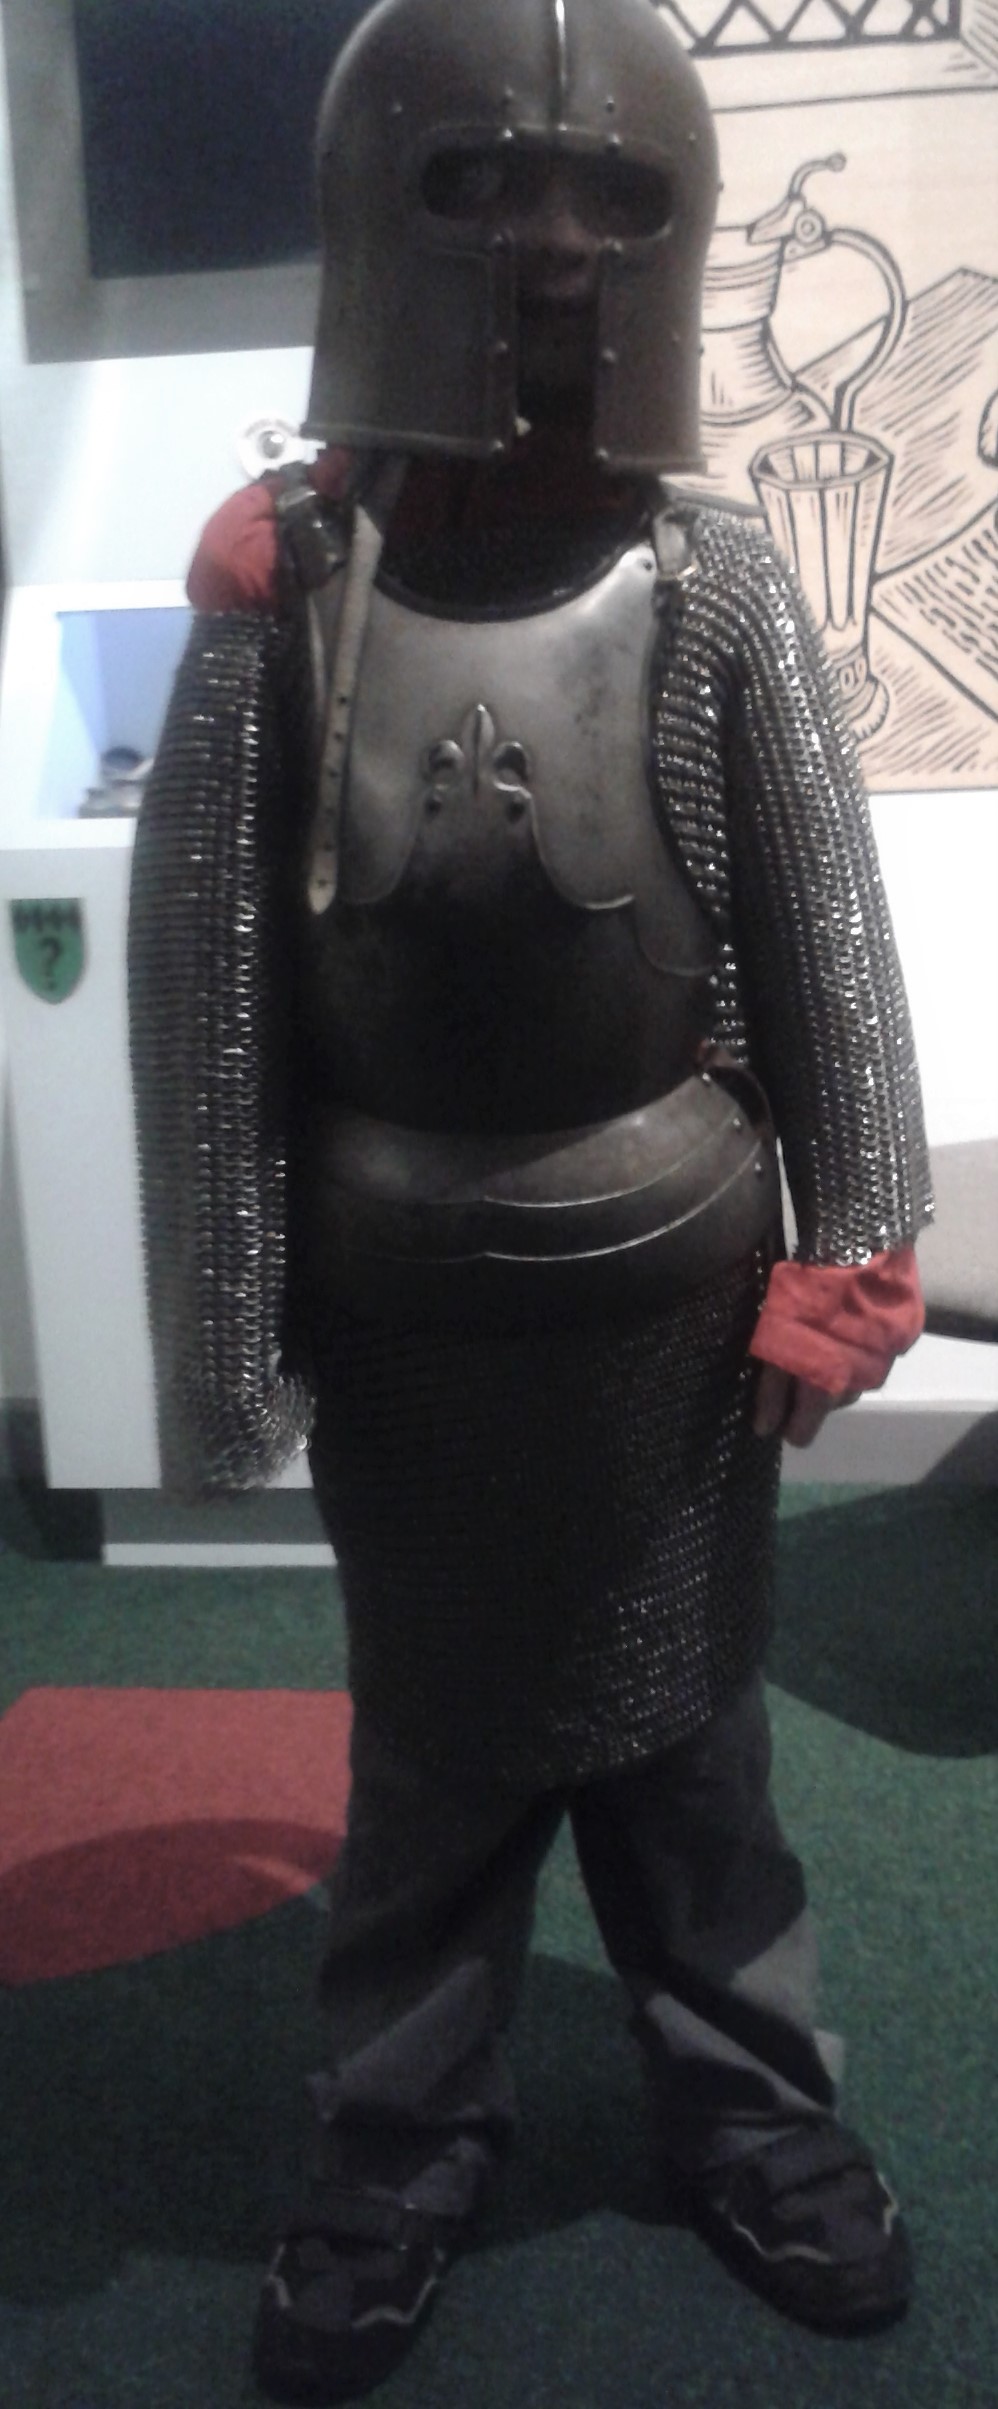
We visited here as a family a couple of years ago, and had a really good day out. There's a great, child friendly exhibition, and the centre often hosts historical re-enactments. The kids got to try on proper chain mail, and loved it!
Unfortunately it was a dull, drizzly day so we couldn't go for a walk around the battlefield site. I've just read that it's reopened now, following lockdown - although the visitor centre isn't. We might go on the next fine day, and take a picnic - complete with Bosworth Jumbles of course!
So, onto the biscuits. The name 'jumble' is widely believed to come from the word 'gemmel', meaning a twin finger ring. Jumble biscuits were originally made in the shape of 2 linked rings. Here's one vintage 'jumble' recipe, made with what were prized spices at the time.
The legend goes that Bosworth Jumbles were a favourite of the Yorks, and were actually taken onto the battlefield. Furthermore, some suggest that the recipe was plucked from the hand of the King's dead cook. This news article claims that Bosworth Jumbles are nearly extinct. https://www.hinckleytimes.net/news/local-news/bosworth-jumbles-biscuits-endangered-list-11945469
That is to say, only 3% of people had heard of them. Definitely a reason to share it with you!
The recipe varies a lot (as you'd expect after all these years). This is a combination of all that I found :-
Ingredients
- 225g (8oz) self-raising flour
- 175g (6oz) butter
- 175g (6oz) caster sugar
- 1 egg
- 1 tsp grated lemon rind
- 1/2 tsp almond essence or rosewater (optional)
1. Preheat the oven to 180C/350F/GM 5
2. Measure out the butter and sugar into a large mixing bowl.

3. Mix well until light and creamy
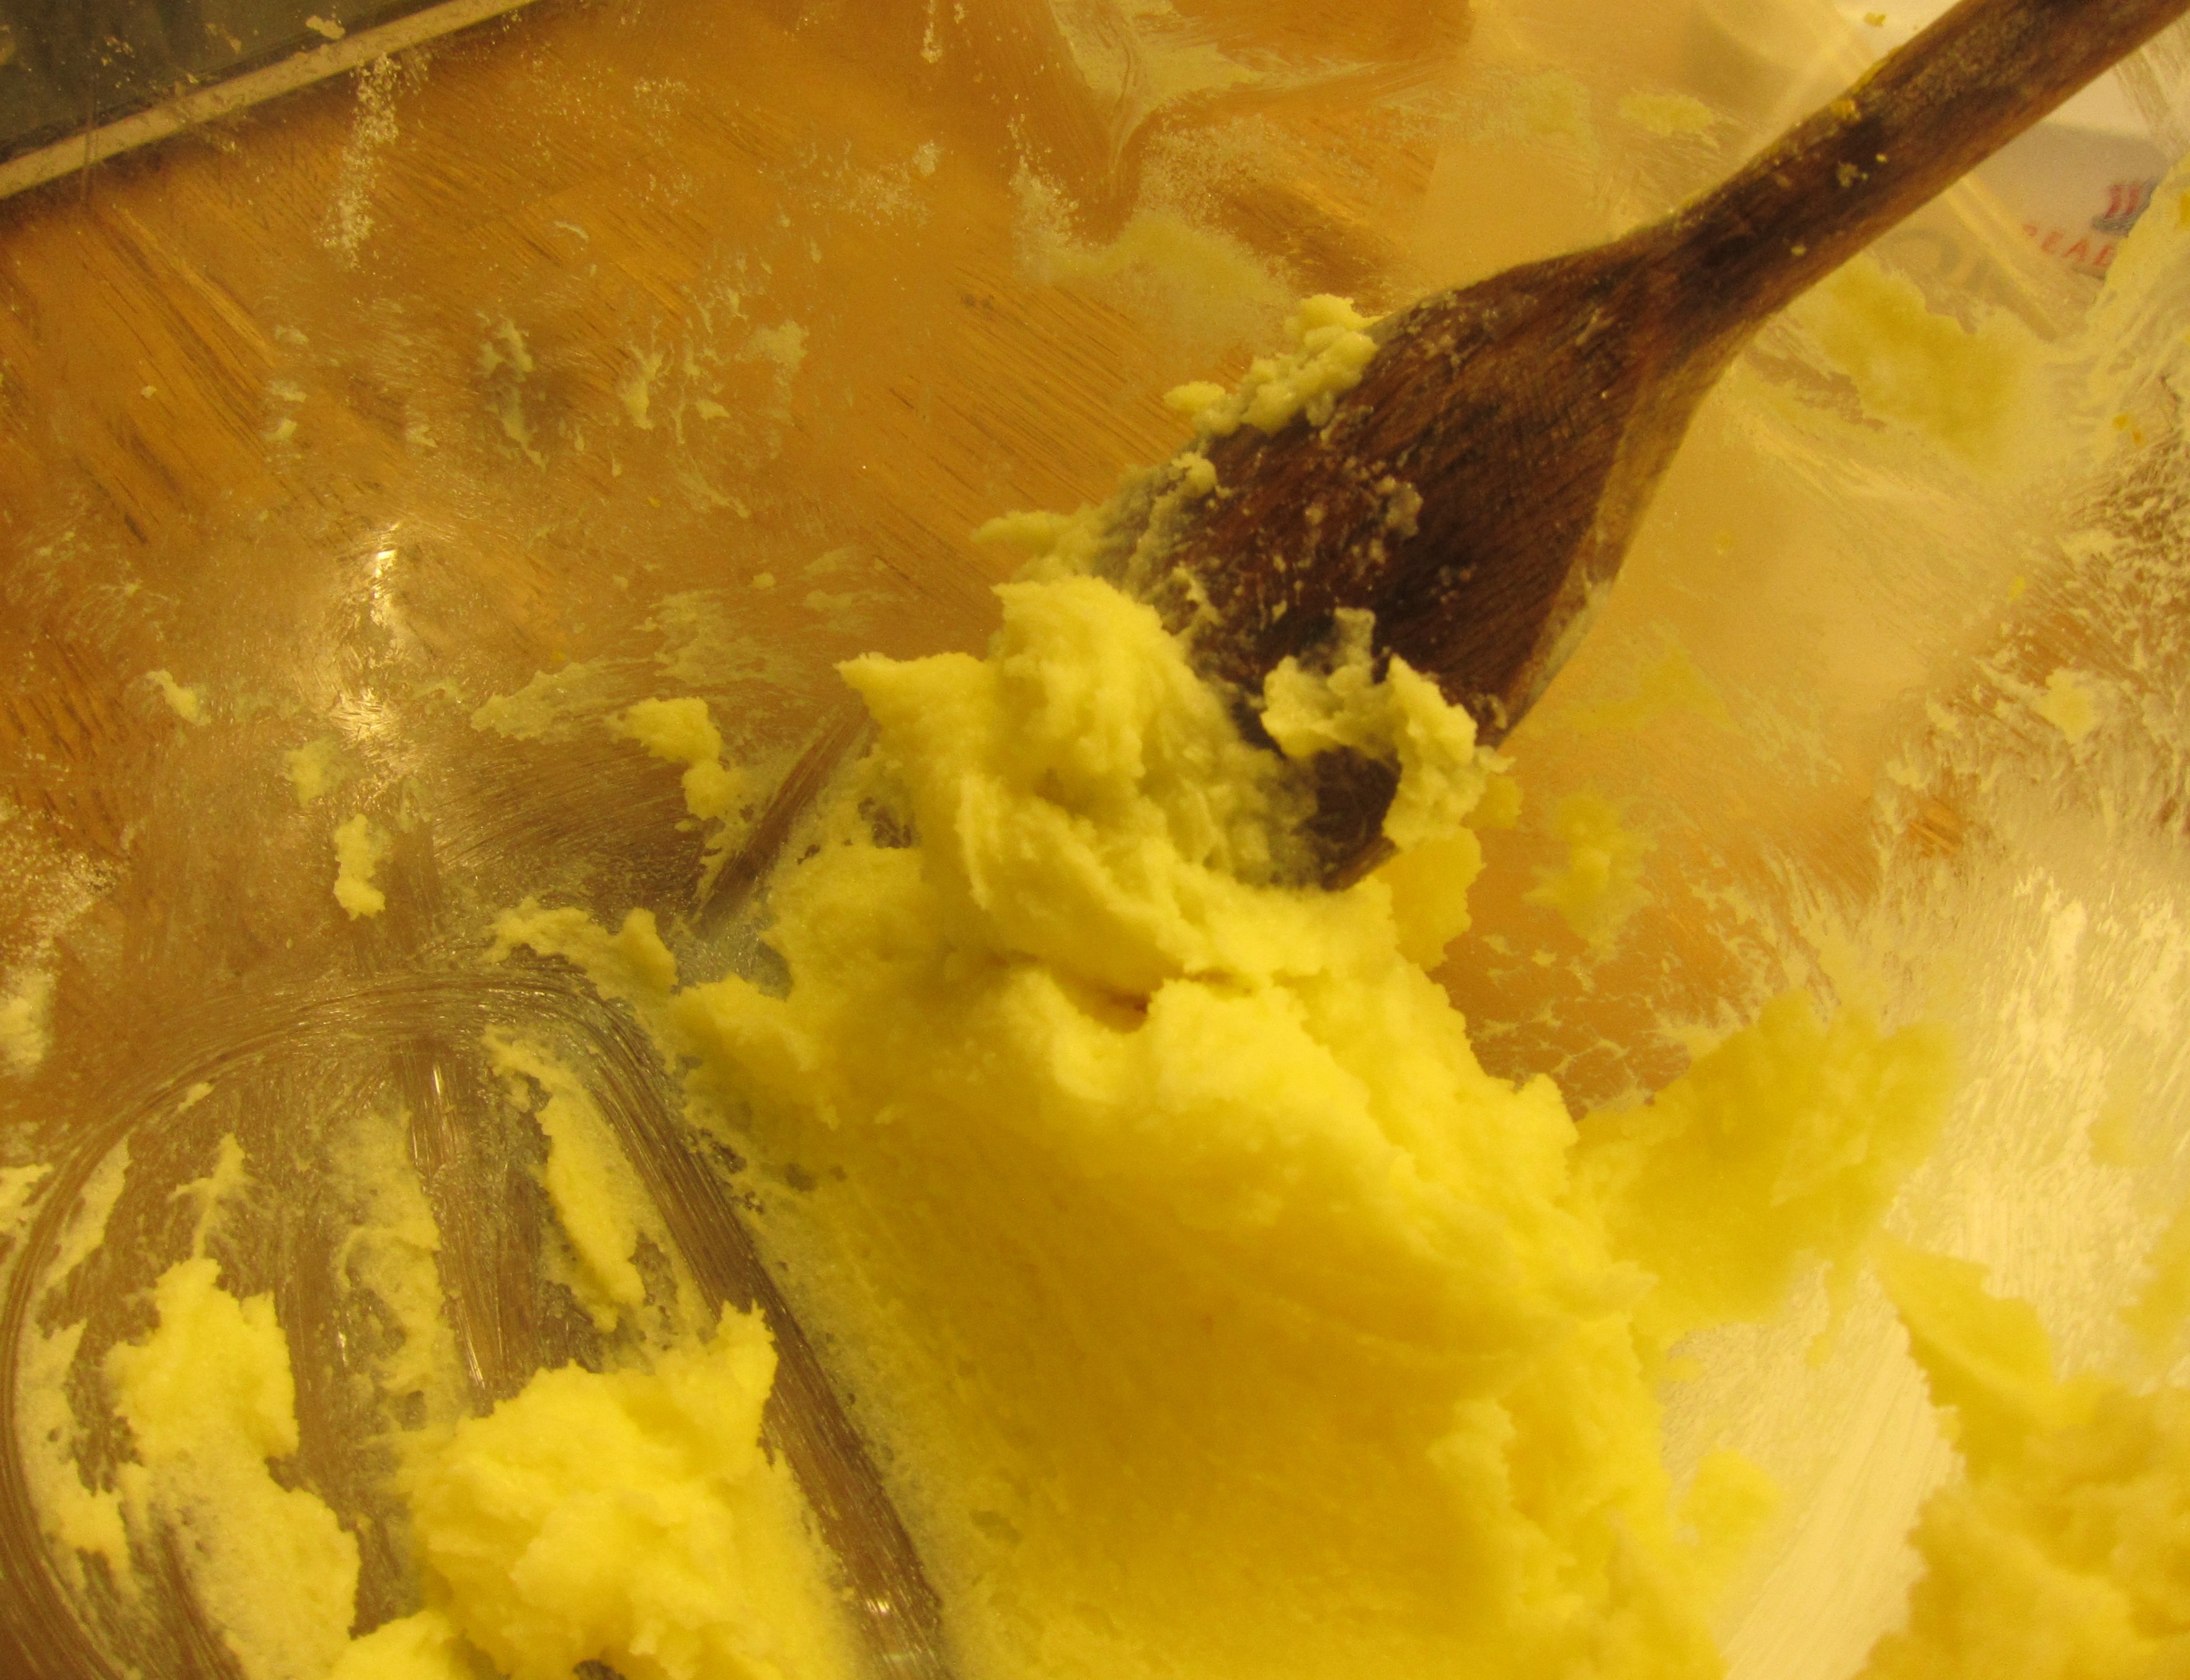
4. Very gradually, add in 1 egg (this bit's like making a sponge cake - don't rush or the mixture will curdle.

5. Add in about 1 tsp freshly grated lemon zest, and almond essence or rosewater (if using).

6. Sift the flour into the creamed mixture (I like to do this over the sink, on an upturned washing up bowl. It means that any excess flour goes in the sink, not all over the kitchen!). Mix to a stiff consistency.

7. Take small pieces of dough (mine were about 40g each). Roll into sausage shapes, then bend into an 's'. I found this easiest to do on my floured pastry board. Place the shaped dough onto a baking tray, each biscuit well spaced apart. Bake for 10 - 15 minutes, until golden brown.

And here they are!

Now - here's where I remembered that I'm not great at biscuit baking. They always seem to spread more than I'd hoped. These were tasty - but quite thin and crumbly, so wouldn't be very easy to take into battle! Here are some tips I picked up from the internet:
- Refrigerate the dough well - if it's too warm it will melt quickly in the oven, and therefore spread.
- (My dough was very soft, so I think refrigerating it would definitely have helped. I shouldn't have been so impatient!)
- No need to grease the tin (which I did, as per most recipes) The biscuits should have enough fat in them to prevent sticking - any extra will encourage melting.
- Cook 1 batch at a time, on the middle oven shelf. This should help to keep them at the right temperature. But see below.
- Always use a cool baking sheet - not one straight out of the oven. If you want to reuse the sheet, wash it and cool it down.
Thanks to the following websites and blogs for advice:
This was Megan's version. She thought the biscuits should look like snakes, so added some eyes with an icing pen. She put one in her packed lunch for her first day back at school - a very big day indeed!

No comments:
Post a Comment