Tuesday 23 June 2020

Breadmaking Extra


Hi all, moving away from history for a while to give you some pointers on bread making.  There are a few reasons for this - firstly that I know it's a popular subject at the moment.  A lot of people have told me that they're trying their hand at bread during lockdown - partly due to having more time, and also out of necessity when we've all been trying to avoid the shops.  Secondly, my beloved Kitchenaid has stopped working.  I've realised just how much I relied on it, so now trying to firm up the old arm muscles with a spot of hand baking  - and having to learn new techniques along the way!

And thirdly - I'm discovering the joys of fresh yeast!  Having always had mediocre results with my bread making, I tried baking with this at a folk festival.  The lady waxed lyrical about it, and it did make lovely bread.  However, I was unable to find it anywhere when I returned home.  During lockdown our lovely local butcher - Gamble and Hollis in Syston - have been stocking it.   It has made a huge difference!  My bread feels so soft and airy - I'm becoming quite addicted to making it.  So, do try fresh yeast if you get the chance.  Massive shout out here to all those local businesses who have kept us going through tough times - we really appreciate you!

A disclaimer - I am certainly no baking expert, and always welcome tips and hints from other people.  These are simply some tips which have helped me, as a beginner.

Here are the quantities you'll need for a basic white bread recipe:-
  • 2 tsp caster sugar
  • 425ml (3/4pt) water
  • 2 1/2 tsp dried yeast, 20g fresh yeast or 1 1/2 7g sachets fast-acting yeast
  • 750g (1lb 10oz) strong white flour]
  • 2 tsp salt
  • 40g (1 1/2oz) chilled butter or 4 tbsp olive oil

So, if you're using fresh yeast you'll need to start if off.  Place it in a jug, with 150mls of the water and your 2 tsp sugar.  Cover and leave for at least 5 minutes, until it starts to froth.  You'll see little bubbles appearing, and may even hear it fizz when you stir it.  Some recipes recommend using warm water for bread making but (this is a tip from Paul Hollywood), there is absolutely no need.  The slower the rise, the better the flavour.  So, room temperature is fine. (Note - if you're using dried yeast, there's no need to start it off.  Just add to your jug of water, and pour into the mixture - as below).

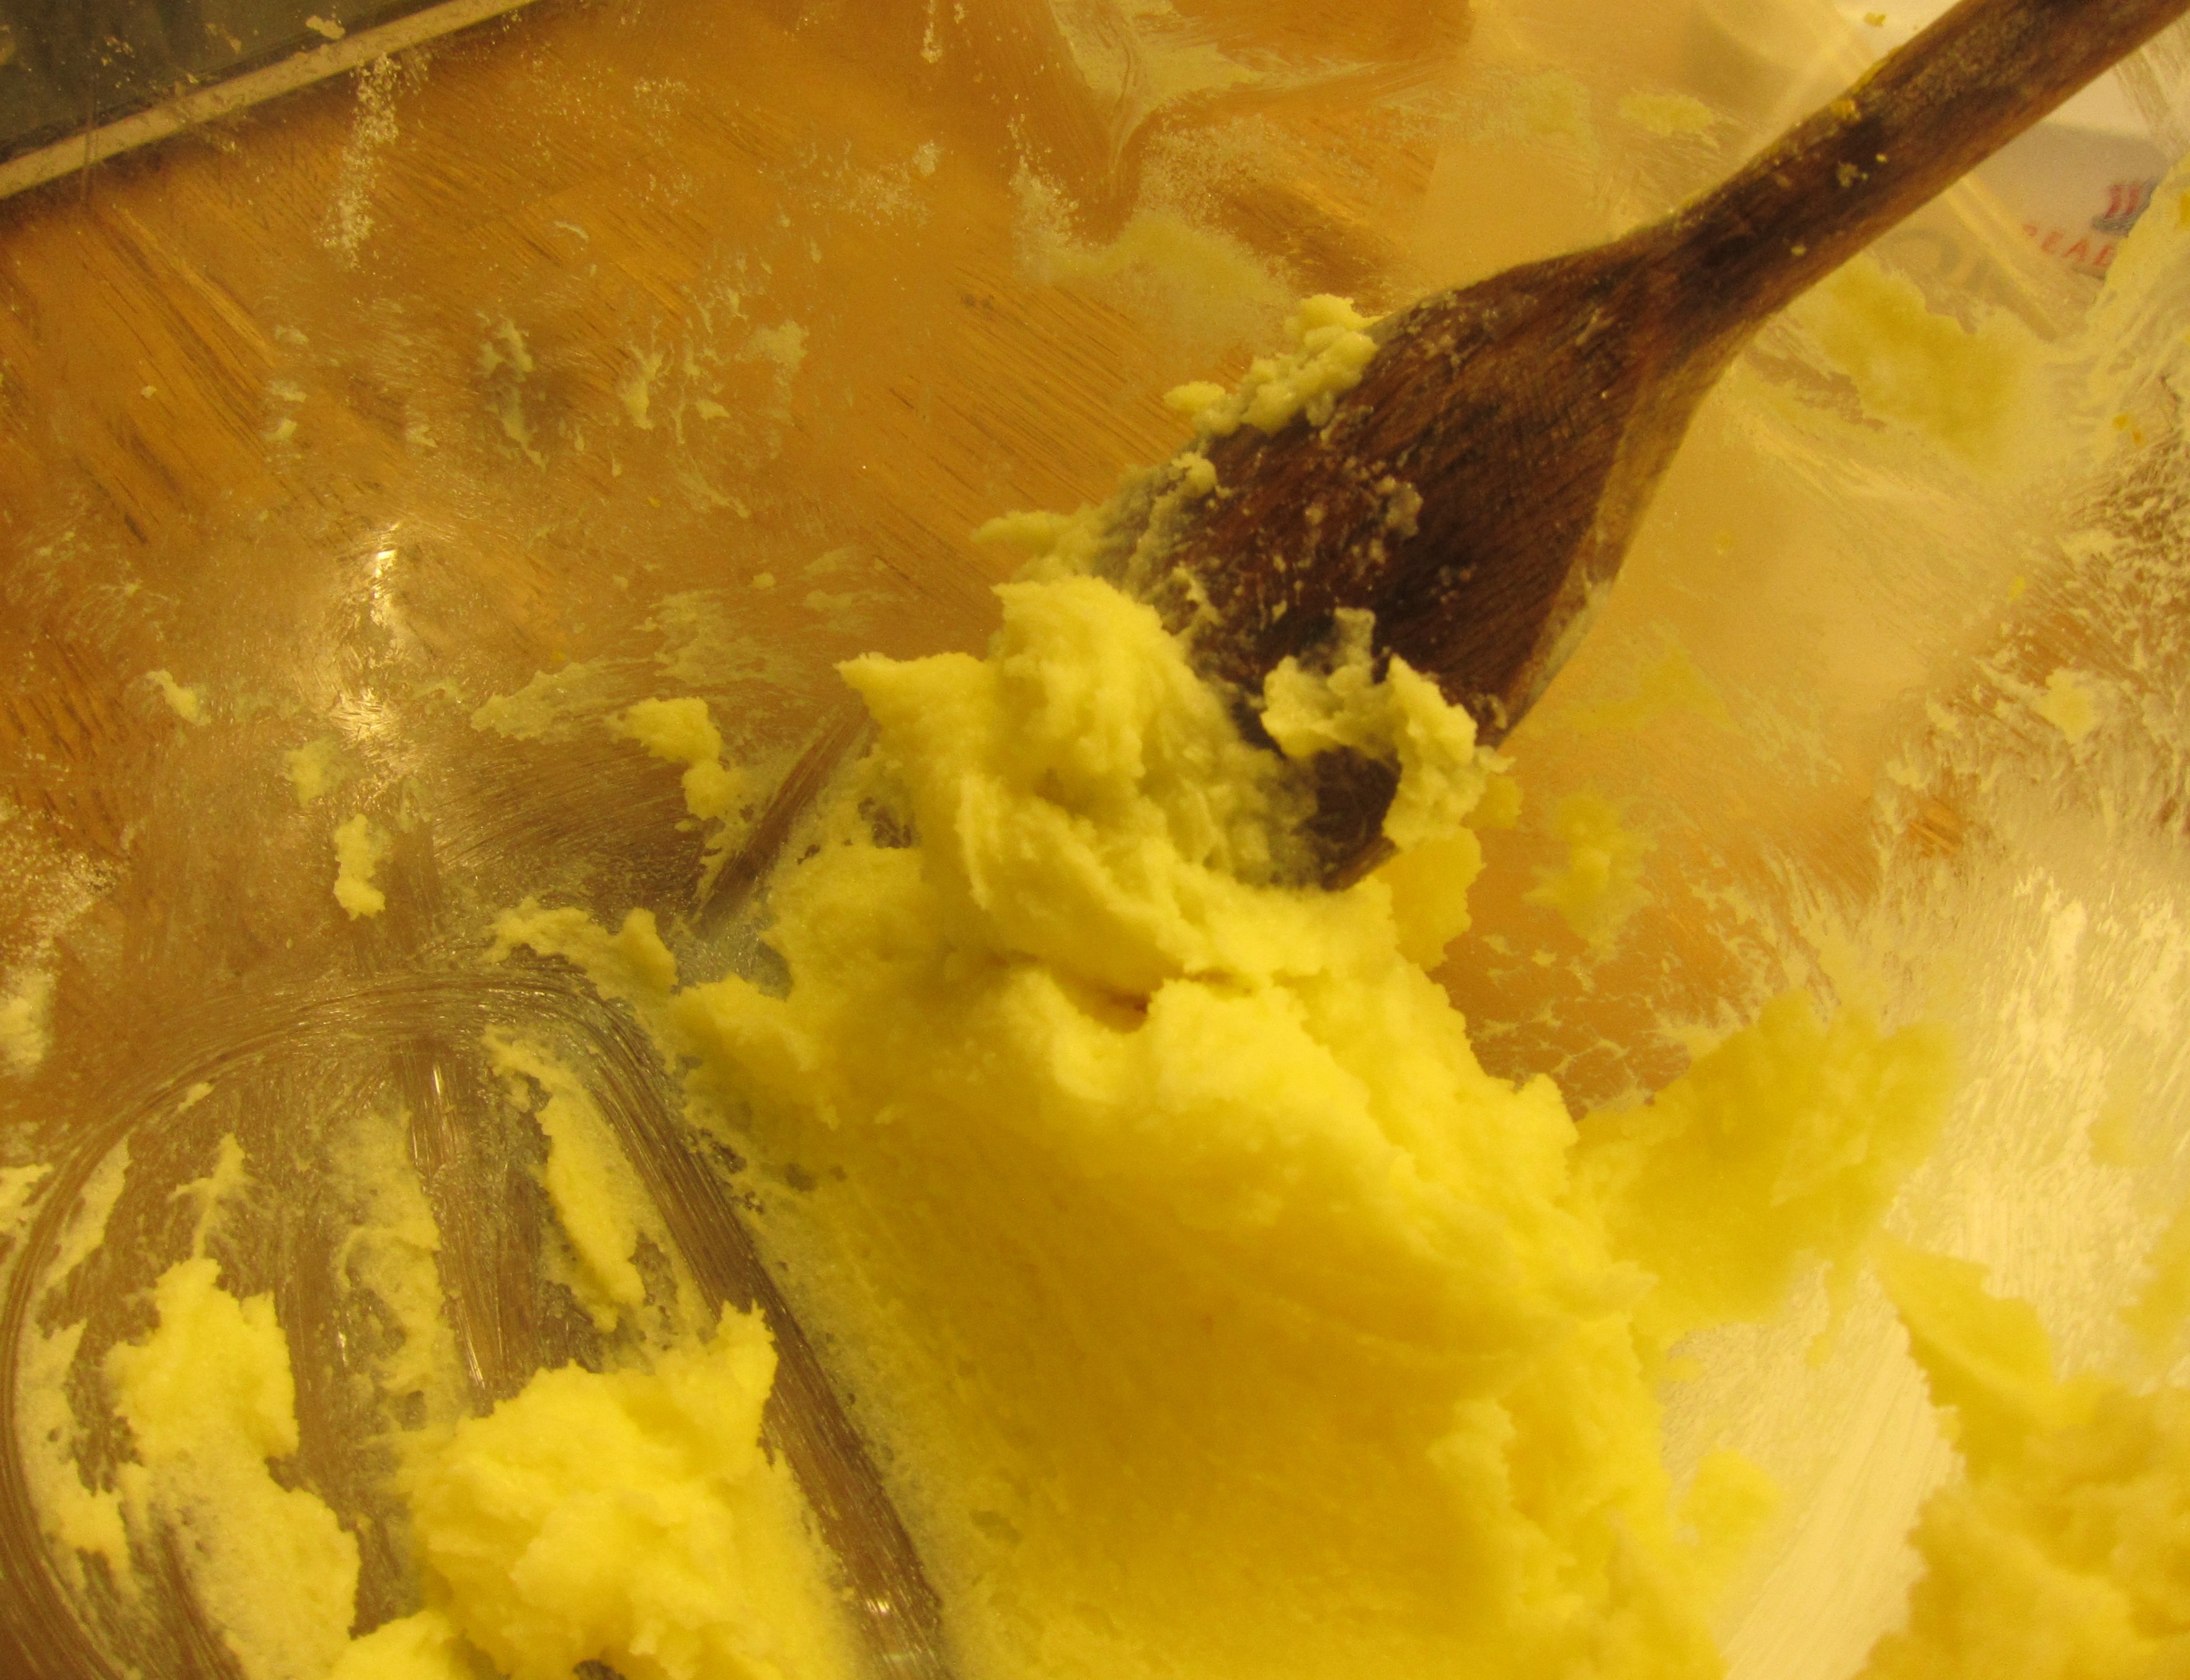
Meanwhile, sift the flour and salt into a large, roomy bowl.  Rub in butter until the mixture resembles breadcrumbs,  or mix in olive oil.  When the yeast is ready, make a well in the flour and pour it in.  Then, gradually mix in about 300 mls of water.  Again, room temperature is fine.   I use my hand like a claw, gradually pulling in all the flour - the same technique that is used to mix scones.


You may need a little more or less water (good organic flours tend to be quite 'thirsty', and often need more water than a recipe states). You want just enough that the flour is all incorporated, and your mixture feels slightly sticky. To start with, you'll have a lumpy, messy mixture.  Begin to pull it together and it will get smoother, I promise!  Knead it in the bowl until the stickiness has gone.  I find this the easiest, least messy technique.


Then, turn out onto a clean surface.  I like my silicone mat - it's a great worktop saver, and also has measurements marked on it, so it's really helpful if you want roll something to an exact size.


Knead for about 10 minutes until you have a smooth, stretchy ball.  My technique is to pull it out, roll up again,and give it a good squeeze and squash with my knuckles.  Then knock it down on the worktop, and start the cycle again.  But everyone has their own technique.  (Note - knocking on the worktop does not work when you have a dough full of dried fruit.  I learnt this to my cost - currants flying all over the kitchen!


Place into a large, oiled mixing bowl.  Cover tightly with cling film and leave to rise until it's doubled, or even tripled in size.  Again, you don't need a warm spot.  When I first tried bread making I was putting bowls by radiators, or clearing towels out of the airing cupboard to make room for my bowl.  I've also heard people say that they put it in their oven on a very low setting.  You really don't need to.. Just a draught-free spot in the kitchen is absolutely fine. 


When the dough is fully risen, knock it down in the bowl to get rid of some air.  Then, turn it out onto your clean surface again.  Knead for about 5 minutes - you're trying to get as much of that air out as possible, and getting the yeast working again.  


Now, shape your bread.  This quantity will make 2 loaves or 11-12 bread rolls.  For loaves, split in half and divide between 2 loaf tins.  For rolls, weigh out pieces of dough of about 100g each.  Roll each into a ball, tucking the base under to give a nice smooth surface.  Then, place your hand around the ball like a cage,  Roll around gently to give a nice round shape.  Place on 2 baking trays, well spaced apart.


Cover your tray or loaf tin loosely with plastic - I usually use a clean bin bag.  The idea is to give your bread room to rise, while preventing it forming a skin.  Leave for 30 minutes to 1 hour, until well risen again.  Meanwhile, preheat your oven to 200C/400F/GM6.

When your bread is ready, bake in the oven for 30-35 minutes (for loaves) or 10-12 minutes for rolls.  Here's another Paul Hollywood tip - while you're heating your oven, place a deep baking tin into the bottom.  After you put your bread in, pour about 2 litres of water into the tin and immediately shut the door.  The resulting steam will help to give your bread a really good crust.  You'll know your bread is ready if it sounds 'hollow' when tapped on the bottom.

I hope that's helped, and inspired you to try bread making if you haven't before.  Here's a French style loaf that I made the other day.  Delicious!

Would love to know if this inspires anyone to try breadmaking, and hear any tips that you might want to share!


Friday 12 June 2020

Bosworth Jumbles


So today, we continue our virtual hop around Leicestershire, going further back in time to 1485 and the last days of Richard III.  Most people will have heard the story of  'The King Under The Car Park'.   In a nutshell, Richard was King of England from 1483-1485, last monarch of the York dynasty.  Richard's army was eventually defeated by Henry Tudor at the Battle of Bosworth - west of Leicester.   Richard's body was taken to Leicester and buried without ceremony.  During the Reformation, his tomb was unearthed and, it was widely believed, his body thrown into the River Soar.  In 2012, following extensive campaigning by the Richard III society, excavations were carried out to try and find his bones.  They were eventually discovered under the Greyfriars carpark, in Leicester City Centre. Scientists at the University of Leicester were able to confirm that they were, indeed, the  remains of the King.  After a battle between the cities of York and Leicester as to who should have his bones, Leicester won.  He was finally interred there, with due pomp and ceremony, in 2015.


I can highly recommend the Official Visitor Centre, situated opposite Leicester Cathedral.  They have an extensive and interactive exhibition, covering everything from the life of Richard III to the technology that helped to uncover his bones.  His burial site, next to the centre, has been preserved and covered in glass - so you can actually see the outline of his body.  I'm told this won't last forever though - eventually the ground will collapse and fill in.  So it's worth going to see while (and when) you can.  The official website is here - https://kriii.com/

Hop across the road to Leicester Cathedral, where you can see Richard's final resting place.

You can also visit the battle site -  https://www.bosworthbattlefield.org.uk/
We visited here as a family a couple of years ago, and had a really good day out.  There's a great, child friendly exhibition, and the centre often hosts historical re-enactments.  The kids got to try on proper chain mail, and loved it!


Unfortunately it was a dull, drizzly day so we couldn't go for a walk around the battlefield site.  I've just read that it's reopened now, following lockdown - although the visitor centre isn't.  We might go on the next fine day, and take a picnic - complete with Bosworth Jumbles of course!

So, onto the biscuits.  The name 'jumble' is widely believed to come from the word 'gemmel', meaning a twin finger ring.  Jumble biscuits were originally made in the shape of 2 linked rings.  Here's one vintage 'jumble' recipe, made with what were prized spices at the time. 

The legend goes that Bosworth Jumbles were a favourite of the Yorks, and were actually taken onto the battlefield.  Furthermore, some suggest that the recipe was plucked from the hand of the King's dead cook. This news article claims that Bosworth Jumbles are nearly extinct.   https://www.hinckleytimes.net/news/local-news/bosworth-jumbles-biscuits-endangered-list-11945469
That is to say, only 3% of people had heard of them.  Definitely a reason to share it with you!


The recipe varies a lot (as you'd expect after all these years).  This is a combination of all that I found :-


Ingredients
  • 225g (8oz) self-raising flour
  • 175g (6oz) butter
  • 175g (6oz) caster sugar
  • 1 egg
  • 1 tsp grated lemon rind
  • 1/2 tsp almond essence or rosewater (optional)

1.  Preheat the oven to 180C/350F/GM 5


2.  Measure out the butter and sugar into a large mixing bowl.


3.  Mix well until light and creamy


4.  Very gradually, add in 1 egg (this bit's like making a sponge cake - don't rush or the mixture will curdle.


5.  Add in about 1 tsp freshly grated lemon zest, and almond essence or rosewater (if using).


6. Sift the flour into the creamed mixture (I like to do this over the sink, on an upturned washing up bowl.  It means that any excess flour goes in the sink, not all over the kitchen!).  Mix to a stiff consistency.


7. Take small pieces of dough (mine were about 40g each).  Roll into sausage shapes, then bend into an 's'.  I found this easiest to do on my floured pastry board.  Place the shaped dough onto a baking tray, each biscuit well spaced apart.  Bake for 10 - 15 minutes, until golden brown.


And here they are!


Now - here's where I remembered that I'm not great at biscuit baking.  They always seem to spread more than I'd hoped.  These were tasty - but quite thin and crumbly, so wouldn't be very easy to take into battle!  Here are some tips I picked up from the internet:

  1. Refrigerate the dough well - if it's too warm it will melt quickly in the oven, and therefore spread.
  2. (My dough was very soft, so I think refrigerating it would definitely have helped.  I shouldn't have been so impatient!)
  3. No need to grease the tin (which I did, as per most recipes)  The biscuits should have enough fat in them to prevent sticking - any extra will encourage melting.
  4. Cook 1 batch at a time, on the middle oven shelf.  This should help to keep them at the right temperature.  But see below.
  5. Always use a cool baking sheet - not one straight out of the oven.  If you want to reuse the sheet, wash it and cool it down.
Thanks to the following websites and blogs for advice:


This was Megan's version.  She thought the biscuits should look like snakes, so added some eyes with an icing pen.  She put one in her packed lunch for her first day back at school - a very big day indeed!


Monday 1 June 2020

Belvoir Castle Buns

So off I go, and I'm starting the journey right here in my adopted home county of Leicestershire. Seemed appropriate as I can't really travel anywhere else at the moment!  For anyone reading from abroad, it's a county in the East Midlands - so just about in the centre of England.  It's known for pork pies; Stilton and Red Leicester cheeses; and Richard III.  Oh, and for a football team who pulled off a league win that no-one ever expected.

As I'm really enjoying bread making at the moment I thought I'd try these yeast risen, sweet buns which were (apparently) a favourite of the seventh Duke of Rutland (1818-1906)

Source - Unsplash//Paula Cockcroft https://unsplash.com/photos/Iuc9g7sipCY

Belvoir Castle (pronounced 'Beaver' for those not in the know) is situated in the Vale of Belvoir, Leicestershire.   It has been home to the Duke of Rutland since 1555.  Although it's part family home,  you can tour inside and it hosts many public events.  It's been featured in various productions, including 'King Ralph', 'Da Vinci Code', 'Little Lord Fauntleroy' and most recently, Netflix series 'The Crown'.

Here's an interesting fact - in the 1840s Anna, Duchess of Bedford, spent some time at the castle.  She found that dinner was served too late for her liking, and she was becoming hungry in the afternoon.  So, she asked for a snack of tea and cake in between (well, you can demand this sort of thing when you're a duchess!)... and the tradition of 'afternoon tea' was born.

Apparently the current Duke and Duchess lead quite a colourful and unconventional life.  I'll pop this here for you to read at your leisure...

https://www.dailymail.co.uk/news/article-5184689/Duke-calls-police-lover-refuses-leave.html

Here's the Wiki page if you'd like to find out more about the Castle and family https://en.wikipedia.org/wiki/Belvoir_Castle.  And here is the official website, in case you fancy a visit https://www.belvoircastle.com/

We had a family day out at Belvoir Castle, back in the summer of 2013, having won an entrance ticket complete with guided tour.  Evan was pretty well behaved during the tour (considering he was then a boisterous 3 year old).  It wasn't until the end that he announced in a big loud voice "I don't want to go round with that lady anymore, she talks too much!"  Luckily, the guide had a good sense of humour!  Anyway, we really enjoyed exploring the grounds - there are some lovely woodland walks and we all enjoyed playing hide and seek around the battlements.  Here I hoped to bring you some lovely photos of our visit, but can I find them?  No.  Despite trawling both our hard drives, they seem to be lost.  Ah, the hazards of the digital age.


Anyway, on to the recipe...

I found several versions of this, in my books and online.  They're all pretty similar - this is from 'Taste of The East Midlands'.

Ingredients

400g/1lb plain flour
115g/4oz currants
115g/4oz sugar + 1tsp
150ml/1/4 pt lukewarm milk
50g/2oz butter
1/2oz fresh yeast or 1/4oz dried yeast
1 tsp salt
A little milk (to finish)


Method

1.  Place the flour in a mixing bowl, and stir in the salt.  Add the butter and rub it into the flour - until the mixture resembles breadcrumbs 


2. Mix in the 115g (4oz) sugar.

3.  To the lukewarm milk, add yeast and 1tsp sugar.  Stir until dissolved.  Leave to stand, covered, until it begins to froth.

4.  Pour the yeast mixture into the flour and mix well (I like to bring the ingredients together with one hand, like a claw - until they are just combined).  Then add half the currants.  Begin kneading the dough - you want it to be nice and soft, and maybe slightly sticky - but not too much to handle.  When the dough has come together, knead for at least 10 minutes - or 5 minutes in a mixer with a dough hook.  For more information on bread making, see my previous post here -

5. Here's the dough, kneaded and ready for its first rise.  Place into a large bowl, and cover tightly with cling film.


Now, the recipe says to leave the dough until it's doubled in size.  This is my dough after 4 hours of rising, rather than the usual 1-2.   As you can probably tell, it hadn't grown much.  When I pressed it with my finger, it felt firm and left a dent which didn't spring back - this is a sign that it's over-proved.  Feeling a little despondent, I read up on enriched doughs.  A few sources say that they often don't double in size, even if the recipe says they should.  This is because the extra sugar feeds on the yeast and stops it working as efficiently.  So, I think I should have checked (and prodded it) before.


6. Anyway, when the dough feels spongy - and your finger leaves a dent that slowly springs back , it is about ready.  Take it out of the bowl, knock it back and knead well again.  Megan loves this bit, she really puts some welly into it! My fabulous kitchen assistant 😀


7. Next, roll out the dough into a square about half an inch thick.  Sprinkle on the remaining currants, then roll up like a Swiss roll. 


8. Cut your dough into slices of about 2.5cm (1 inch) wide.  


9. Place the slices onto a greased baking sheet, cut side up and leave to rise again for about 30 minutes. Cover with a roomy plastic bag (I use a clean bin bag) to prevent the dough forming a skin.  Meanwhile, preheat the oven to 220C/425F/GM7.  

10. Just before baking, gently (so you don't knock any air out) brush the slices with milk.  


11. Bake the buns in a pre-heated oven for 10-12 minutes, until golden brown.

And here they are!  I was quite pleased with the way they turned out, after all.  Not sure they'd get the Duke's seal of approval - a bit more practice needed first.  They were slightly heavy, and I think this was due to the over-proving.  But they tasted good.  Stayed fresh for a couple of days, and after that I grilled them and spread them with butter - not unlike a toasted teacake.

So that's it for now.  Next time, going further back in history to the time of Richard III - with Bosworth Jumbles.  See you then!